![Primary.svg]](https://help.studyforge.net/hubfs/Primary.svg)
In your LMS, click on a StudyForge lesson in your course to take you directly into StudyForge.
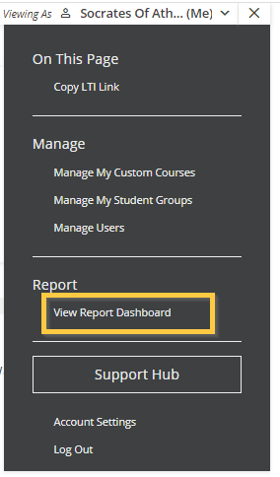
On your navigation bar, go to the top right of the page.
Click the hamburger menu by your name.

Click View Report Dashboard
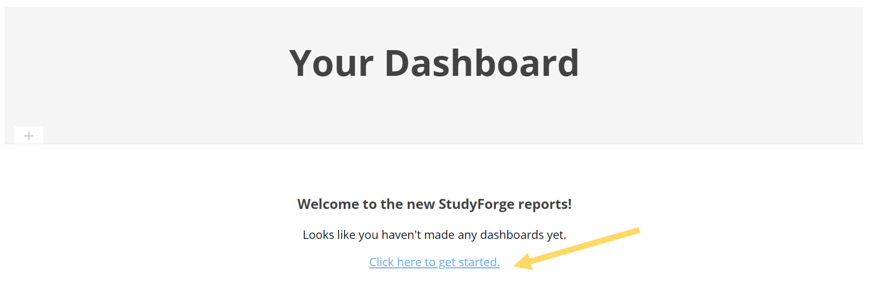
This takes you to Your Dashboard. Here, you can create widgets that will help you keep on top of your students’ progress and show you when a new assignment has been handed in or a test has been written.
Click the "Click here to get started" link on the page.
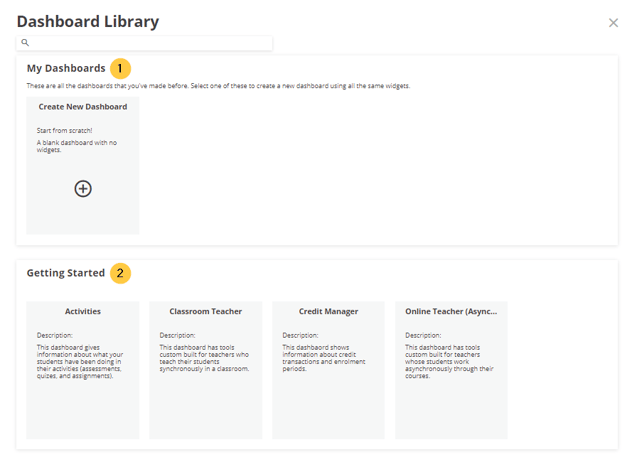
There are 2 options to set up your dashboard.
1. Customized
2. Pre-made
For this article, we're going to use the pre-made dashboard, Activities.
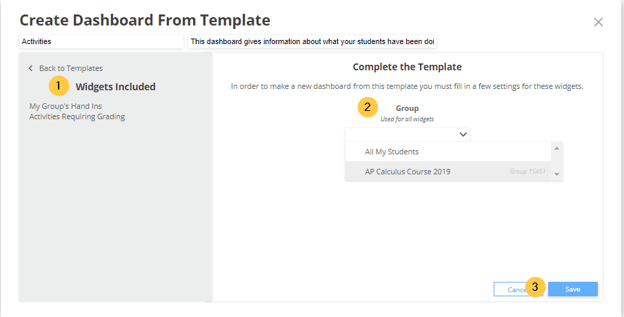
Once you select the dashboard type, it will take you to the settings page.
- Widgets Included: Let's you know what you'll view in the widget.
- Group: You can select specific groups/classes or all your students.
- Once you've made you're selections, click Save.
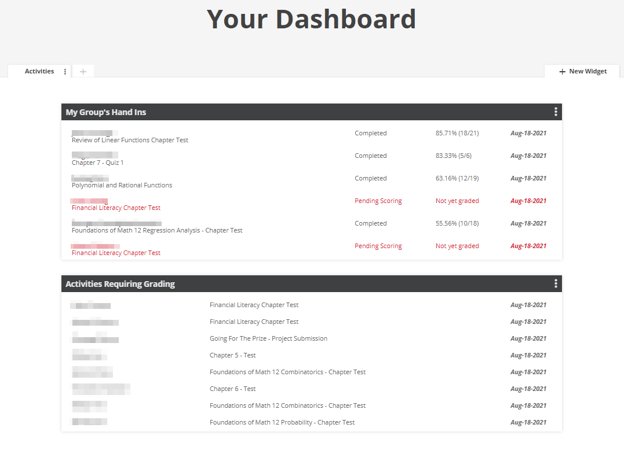
Here’s a sample of the Activities tab.
It shows all student submissions for My Group’s Hand Ins and Activities Requiring Grading.
Now you instantly have a place to see what your student's are up to and keep up to date with them💻.