![Primary.svg]](https://help.studyforge.net/hubfs/Primary.svg)
1. From the hamburger menu, Click "Create New Reading"

2. You can add tables to Reading by clicking the Table icon.

3. You can select the numbers of rows and columns to add a customized table to the Reading.

4. Edit the table properties by clicking this icon.
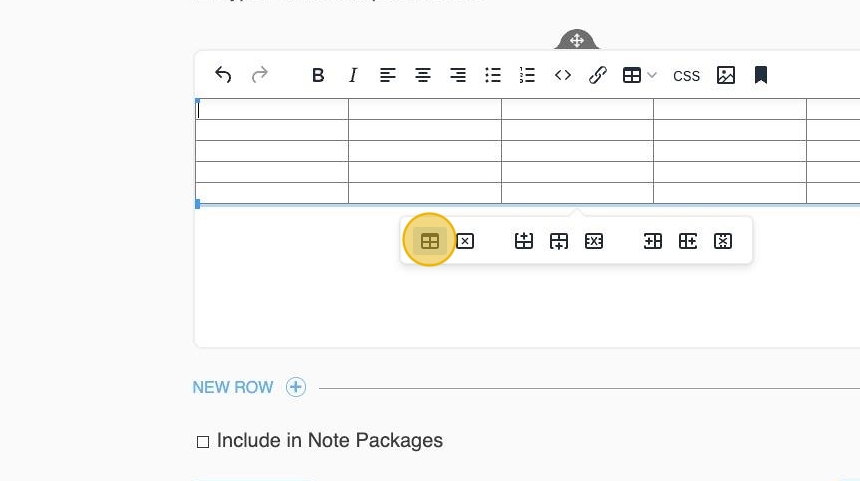
5. You can edit General or Advanced Table Properties. General properties include: Table Width and Height, Cell Spacing, Padding, Border width, and alignment.

6. Advance Table Properties include: Border style, Border and Background color.

7. You can remove the Table by clicking the Remove button.

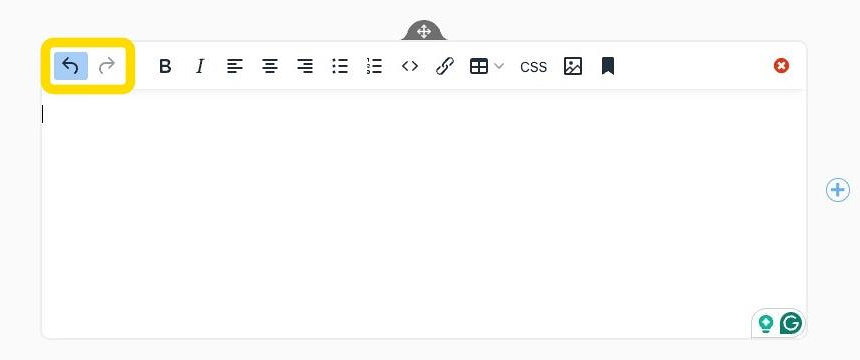
8. Remember that Undo/Redo buttons are also available for Tables.
9. You can add new rows to the table by clicking the add new rows buttons.

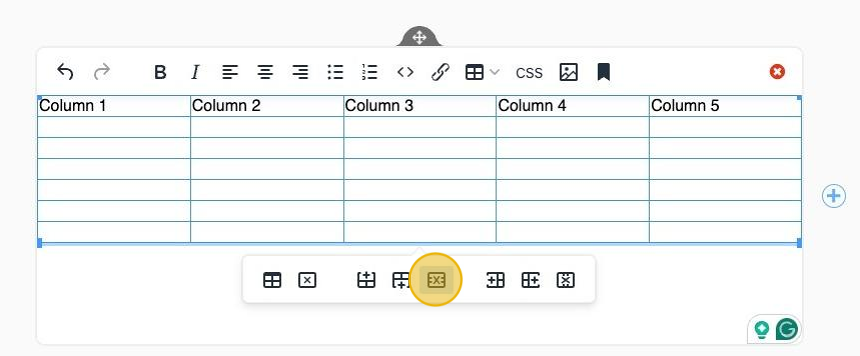
10. In order to remove a row completely, click the remove row button.
11. You can add new columns to the table by clicking the add new columns buttons.

12. In order to remove a column from the table, click the remove column button.

13. To edit cell properties, just click on tables, then Cell, and Cell Properties.

14. You can edit Cell Properties including: Cell Width, Height, Cell Type, Scope, Horizontal and Vertical align.

15. You can merge the cells by selecting the cells to merge and clicking Merge cells on the cell menu.

16. All changes are visible on the preview frame. You can click on the preview frame to see the latest changes made to the reading.

17. You can split the cell content by selecting the cell to split and clicking Split cell.

18. Remember to click Create or Update in order to save the changes made to the Reading.
